Most people eat chocolate the same way they eat any snack: unwrap, bite, chew, done, all in under ten seconds. That’s a perfectly fine way to eat chocolate. It is not a way to taste it, and the two experiences are more different than they sound.
Step 1: Look at it first
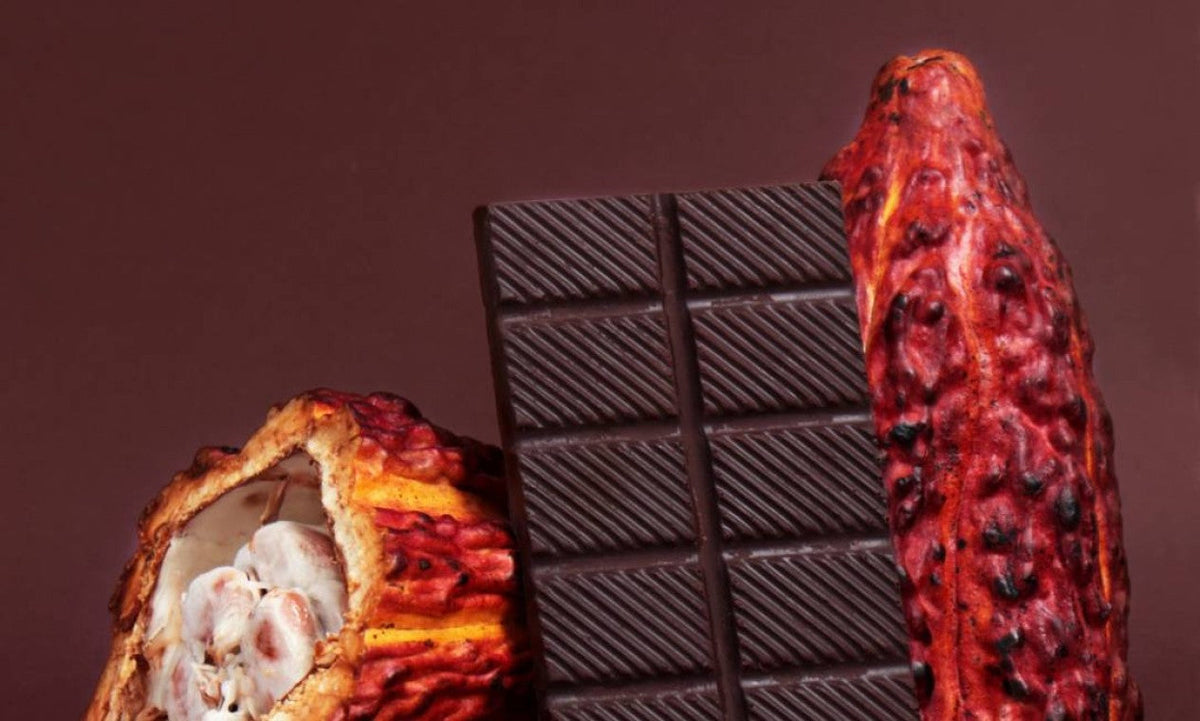
Before tasting anything, look at the chocolate itself. Well-tempered chocolate has a glossy, smooth surface with no dull or streaky patches, and a clean, defined snap when broken (more on that next). This won’t tell you much about flavor, but it’s a fast, free quality check.
Step 2: Listen to the snap
Break the piece in half and pay attention to the sound. Well-tempered dark chocolate produces a clean, crisp snap. A dull or soft break — no real snap at all — often indicates either poor tempering, chocolate that’s been through temperature fluctuation, or simply a much softer formulation (which isn’t necessarily bad, but is worth noticing).
Step 3: Smell it before tasting
Bring the piece close and inhale before it ever touches your tongue. Aroma carries a huge share of what we perceive as “flavor” (this is true of chocolate exactly the same way it’s true of wine or coffee), and you’ll often notice fruity, earthy, or roasted notes in the aroma before you can identify them on the palate.
Step 4: Let it melt — don’t chew it right away
This is the step almost everyone skips. Place the piece on your tongue and let it melt slowly rather than chewing immediately. Chocolate is designed to melt near body temperature, and that slow melt releases flavor in stages rather than all at once. Professional tasters typically let a piece sit for 10–20 seconds before doing anything else.
Step 5: Pay attention to how the flavor changes over time
Good chocolate typically has an arc: an initial flavor impression as it starts to melt, a “mid-palate” as it fully melts and coats your mouth, and a finish — the flavor that lingers after you’ve swallowed. Origin characteristics (fruity, floral, nutty, earthy notes) often show up most clearly in the middle and finish, not in the very first taste, which is exactly why chewing and swallowing quickly causes people to miss them entirely.
Step 6: Cleanse your palate between samples
If you’re tasting more than one chocolate in a sitting, cleanse your palate between pieces with room-temperature water or a plain, unsalted cracker. Avoid coffee, mint, or anything else with strong competing flavor between samples, since it will carry over and distort the next piece you taste.
Step 7: Taste from lightest to most intense
When comparing multiple bars, work from milder to more intense — lower cacao percentage before higher, lighter roast before darker. Tasting a very intense, high-percentage dark chocolate first can numb your palate slightly for the more delicate flavors in a milder bar tasted afterward.
Running your own tasting at home
You don’t need special equipment or training to do a real tasting — just three or four distinct chocolates (ideally varying by origin or cacao percentage so there’s something meaningful to compare), water or crackers to reset your palate between pieces, and enough time to actually let each piece melt rather than rushing through it.
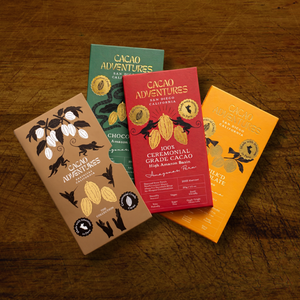
A tasting-format sampler with several distinct bars is built specifically for this kind of side-by-side comparison, since it gives you genuine variation to taste against rather than several versions of the same thing. It’s exactly what we had in mind putting together the Cacao Adventures bean-to-bar chocolate Collection — a 53%, a 70%, and a 100% bar from the same single Peruvian origin, ready to taste through in one sitting using the steps above.

Why this is worth doing even once
Tasting chocolate properly, even one time, tends to permanently change how obvious the difference is between mass-produced and craft chocolate — because most of that difference lives exactly in the areas (aroma, melt, finish, origin character) that get skipped entirely when chocolate is eaten quickly. It’s a five-minute habit that makes every future bean-to-bar chocolate purchase a more informed one.